Arduino Portenta H7 + Vision Shield
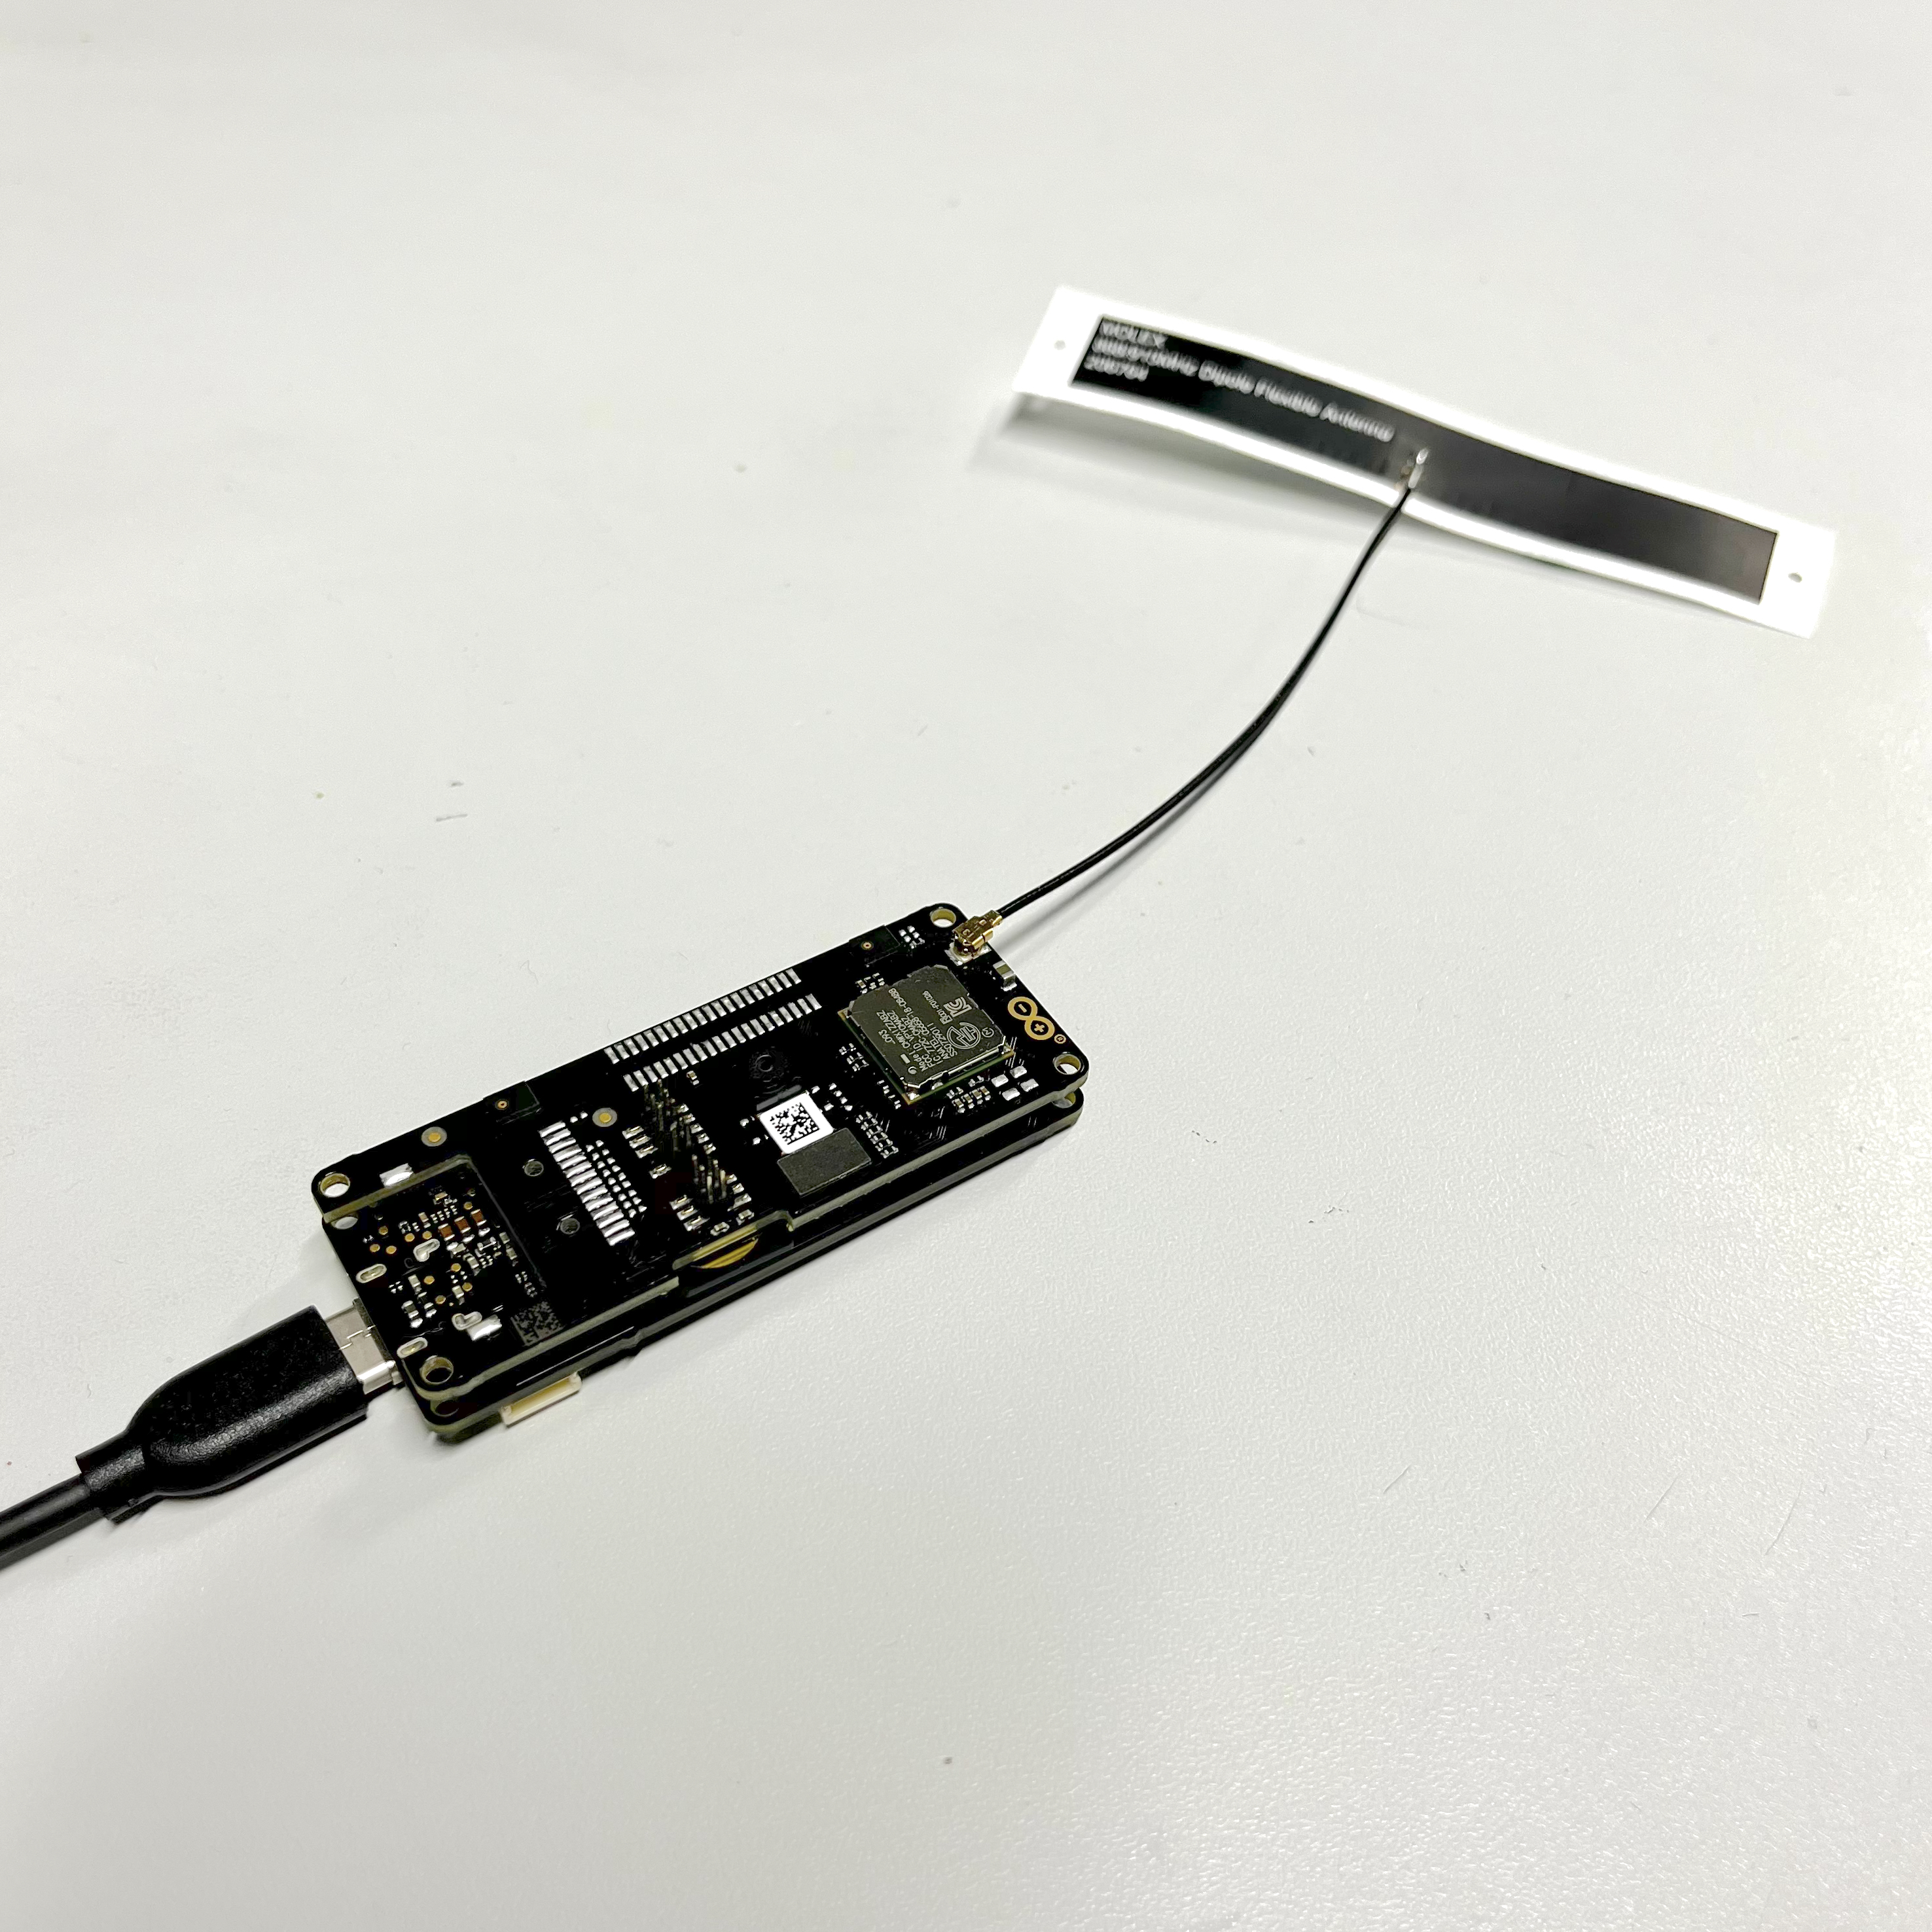
Portenta H7's main processor is the STMicroelectronics dual-core STM32H747 with an on-chip GPU, including a M7 running at 480 MHz and a M4 running at 240 MHz, that can run tasks in parallel. For example it is possible to execute Arduino compiled code along with Tensorflow.js one, and have both cores to communicate with one another. Both processors share all the in-chip peripherals and can run:
Arduino sketches
Native Mbed applications
MicroPython / JavaScript
TensorFlow Lite
The exciting part about Portenta is that you can connect an external monitor to build your own dedicated embedded computer with a user interface. Portenta is ideal for IoT applications, computer vision, robotics controllers etc. especially with Vision Shield LoRa.
There are two ways to use H7 and Vision Shield together, either with Arduino IDE/Edge Impulse CLI or OpenMV IDE. (You can’t use both solutions as they use different firmware) In order to train a ML Model, you need to create a free Edge Impulse account. Edge Impulse is a great platform, which very easily allows to train and export machine learning models on edge devices.
Arduino IDE/CLI + EDGE IMPULSE CLI
In order to run Edge Impulse directly on Portenta please follow this tutorial:
https://docs.edgeimpulse.com/docs/development-boards/arduino-portenta-h7
IMPORTANT! Make sure you flash the firmware properly, as otherwise your system won’t be able to detect the device.
2. OPENMV IDE
Open the OpenMV download page in your browser and download the version that you need for your operating system.
Connect the Portenta to your computer. Make sure you first update the bootloader to the latest version using the
File > Examples > STM32H747_System > STM32H747_updateBootloadersketch in the examples menu in the Arduino IDE.Open the Serial monitor and follow the instruction. Type
Yin the text field and press enter to begin the update process.After updating the bootloader put the Portenta in bootloader mode by double pressing the reset button on the board. The built-in green LED will start fading in and out.
Open the OpenMV IDE.
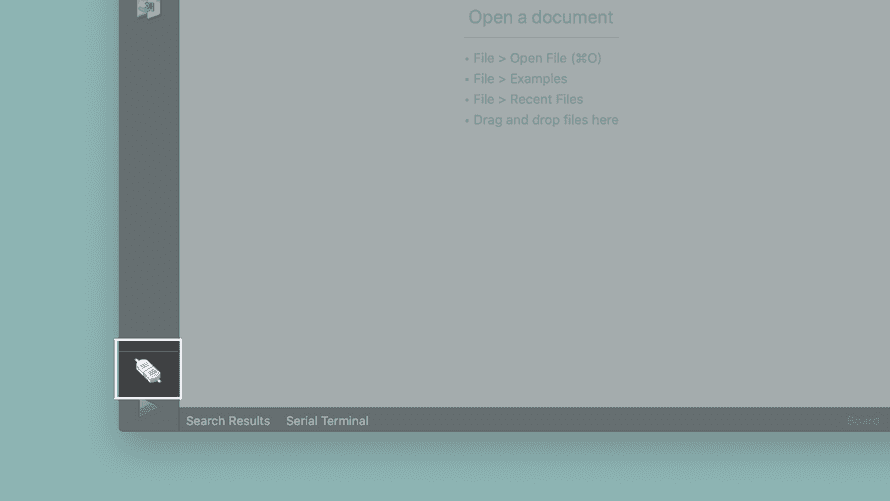
Click on the "connect" symbol at the bottom of the left toolbar.
A pop-up will show up. Choose “Install the latest release firmware” and click ok.
Portenta's green LED will start flashing while the OpenMV firmware is being uploaded to the board. A terminal window will open which shows you the upload progress. Wait until the green LED stops flashing and fading. Portenta should connect automatically, if not, click on “Connect” again.
Explore the examples in
File > Examples >OpenMV
Troubleshooting:
If the upload of the OpenMV firmware fails during the download, put the board back in boot loader mode and try again.
If you get a "No OpenMV Cams found!" pop-up click on the reset button and wait till the LED starts flashing blue. Click on “Connect” again.
If you see a "OSError: Reset Failed" message, reset the board by pressing the reset button. Wait until you see the blue LED flashing, connect the board to the OpenMV IDE and try running the script again.
If the upload of the OpenMV firmware fails without even starting, try uploading the latest firmware using the "Load Specific Firmware File" option. You can find the latest firmware on the OpenMV Github repository. Look for a file called firmware.bin in the PORTENTA folder.
In order to train your first model with Edge Impulse follow this tutorial: https://docs.arduino.cc/tutorials/portenta-vision-shield/vs-openmv-ml#overview