I2C (en)
The I2C interface was originally developed by Phillips to allow communication of individual components. Some manufacturers also use the designation TWI Interface (Two-Wired-Interface). As the name suggests, the I2C interface uses two signal lines to communicate with the peripherals. One line is the clock line (SCL) and the other is the data line (SDA). Both lines are connected to VCC with a pullup resistor.
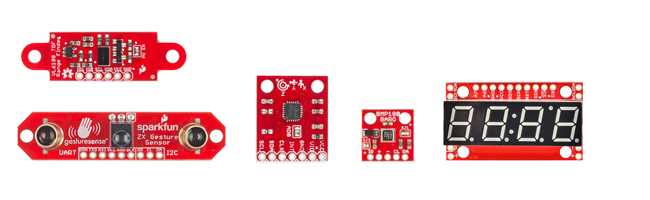
Recently, more and more sensors have come onto the market that use the I2C interface. Especially acceleration sensors and sensors for distance measurement belong to them. Here is a small overview.
Sniffer Code
This example will show any devices connected to the I2C bus, together with their address,
Example
1x Arduino
1x MMA7455
2x Widerstand 4.7k
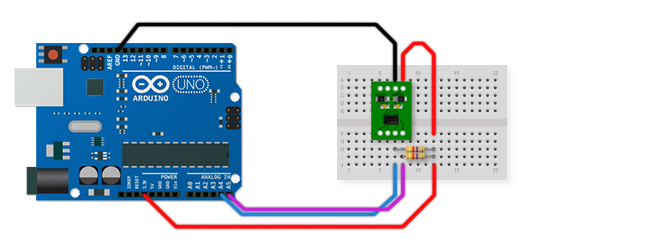
The MMA7455L is a very low cost accelerometer from Freescale. It is accessed via the I2C interface and can be operated at three different levels (2g, 4g, 8g). To make the handling as easy as possible there is a library for Arduino and the sensor comes on a breakout board.
The connection of the accelerometer (MMA 7455L) is relatively simple. The i2c interface requires only two lines (Analog4/SCL and Analog5/SDA) of which one serves the clock and one the data. To ensure communication, a pullup resistor to VCC (3.3V) must be added to each of the SCL and SDA lines. The sensor runs with 2.4-3.7V which is why we connect it to the 3.3V output of the Arduino. GND is connected to the GND of the Arduino as usual.
Functions
MMA_7455
This function instantiates the MMA_7455 library and activates the wire library which is needed for the communication via I2C.
initSensitivity(int)
Here you define how sensitive the sensor should react. This depends strongly on the use of the sensor. The sensitivity can be specified via the variable. The following applies: 2=2g, 4=4g and 8=8g.
calibrateOffset(float, float, float)
Here the offset of the sensor can be calibrated. Corrections can be made via the three float values. In order to determine the correct values for this, the values of the sensor should first be read out without calibration when it is lying on a flat surface. The so obtained values should be corrected so that for xVal+float = 0, yVal+float = 0 and zVal+float = 64 comes out. Then the calibrateOffset() function in setup() can be called once with the corrected values.
readAxis(char)
The sensor is read out here. By passing the corresponding parameter ('x', 'y' or 'z'), the desired axis is addressed.